![Turn a Song into a Lip-Sync Music Video with AI [2026]](/_next/image?url=%2Fimages%2Fblog%2Fturn-song-into-lip-sync-music-video.png&w=3840&q=75 "Turn a Song into a Lip-Sync Music Video with AI [2026]")
A useful lip-sync music video is built Shot by Shot. Upload your finished song, decide where a singer should appear on screen, and choose Lipsync only for those Shots. Review a short result before spending credits on a longer sequence.
Which guide should you read next? This page covers the production workflow. Read AI lip-sync music videos for feature guidance, best AI lip-sync music video tools for tool selection, and Base vs Pro models for a deeper budget comparison.
Before you generate
Prepare three things:
- a finished audio file with a vocal section you can judge clearly;
- a visible performer whose mouth is unobstructed and large enough in frame;
- the rights to use the song, samples, lyrics, images, likenesses, and other uploaded material.
Clear vocals and a readable face give the model a clearer task, but no genre, tempo, or image guarantees a good result. AI output varies, so plan to review every Shot.
Start frame and Reference image are different
| Input | What it does | What to check |
|---|---|---|
| Start frame | Supplies the actual opening image for one Shot video | The face is visible, stable, and suitable for the selected Shot |
| Character reference | Guides identity and appearance across generated images | The identity is clear and you have permission to use the likeness |
| Style reference | Guides color, texture, lighting, or visual treatment | The style supports the Music video's direction without replacing identity |
A Reference image can guide the creation of a Start frame. It does not replace the Start frame required for a Shot video.
Shot-by-shot Lipsync workflow
- Upload the song and choose a section. Start with one short vocal moment such as a verse line, chorus phrase, or hook. VibeMV does not read or transcribe lyrics, so use the audio and your own lyric sheet to identify the exact section.
- Review the Shot layout. Check each time range before generating media. Adjust the layout if a vocal phrase is split at an awkward point.
- Choose where a singer should be visible. A vocal section does not automatically need Lipsync. Use Scene for narrative, atmosphere, instruments, or cutaways where nobody should visibly sing.
- Prepare the performer and Start frame. Add a Character reference when identity consistency matters, then generate or choose the Start frame for the Shot. Favor a front or three-quarter face with a visible mouth.
- Select Lipsync and a Video model explicitly. Choose Lipsync for that Shot, then select the Base model or Pro model. The Pro model is a generation choice, not the Pro subscription.
- Generate a short test and review it. Check mouth timing, face stability, framing, motion, and whether the performance fits the audio. If it does not, revise the inputs or choose another mode. Regenerate creates a new paid result.
- Build the sequence and export. Repeat only for the Shots that benefit from visible singing. Mix them with reviewed Scene or Dance Shots, assemble the Music video, and export in 16:9 or 9:16. Create a 2K version only if the project needs it.
When to use each Mode
| Mode | Use it for | Do not assume |
|---|---|---|
| Lipsync | A visible performer singing in a selected vocal Shot | Every vocal section needs it, or it understands the lyrics |
| Scene | Story, mood, locations, instruments, abstract motion, and cutaways | A visible mouth will follow the vocal automatically |
| Dance | A choreography-focused Shot with one clear main performer | It replaces Lipsync or guarantees exact choreography |
One Music video can use all three. Choose the Mode by what should be visible in each Shot.
Credits and commercial use
| Item | Current cost |
|---|---|
| Base Lipsync | 2 credits per generated second |
| Pro Lipsync | 8 credits per generated second |
| Generated Start frame | 4 credits per image |
| 2K version | 1 credit per output second |
A 15-second Lipsync Shot costs 30 credits with the Base model or 120 credits with the Pro model before a generated Start frame, Regenerate, or a 2K version. Check the exact quote shown in the Workspace before generating.
Active Hobby, Pro, and Studio subscriptions include commercial use. Free and standalone credit-pack use is personal only. A subscription does not clear third-party rights: you remain responsible for the song, samples, lyrics, images, likenesses, and distribution permissions.
Review checklist
Before keeping a Lipsync Shot, check:
- the correct vocal section is mapped to the Shot;
- the mouth remains visible through the important phrase;
- timing looks credible at normal playback speed;
- the face, hands, and framing remain usable;
- the Shot fits the adjacent Scene or Dance Shots;
- the aspect ratio has safe space for the intended platform;
- you have the necessary rights for every input and the planned release.
If a Shot fails the review, change the Start frame, section timing, prompt, Mode, or Video model before paying to Regenerate.
Frequently asked questions
Does VibeMV automatically use Lipsync on vocals?
No. You select Lipsync for each suitable Shot. Audio analysis helps organize the song, but it does not turn every vocal section into a singing performance.
Does Lipsync read the lyrics?
No. The main product analyzes audio signals and does not read or transcribe lyrics. Use your own lyric sheet when choosing the exact line and describe the visible performance in the Video prompt.
Should the whole song use Lipsync?
Usually not. Selected performance moments often work better beside Scene cutaways, narrative Shots, instruments, atmosphere, or Dance Shots. Test one short section before building a longer sequence.
What should I do when a result is weak?
Review the exact problem first. You may need a clearer Start frame, a different time range, a simpler visible action, another Mode, or another Video model. Regenerate is paid, so change a concrete input before creating another result.
Where should I start?
Open Create a music video from your song, choose one short vocal section, and build one reviewable Lipsync Shot before extending the sequence.
More Posts
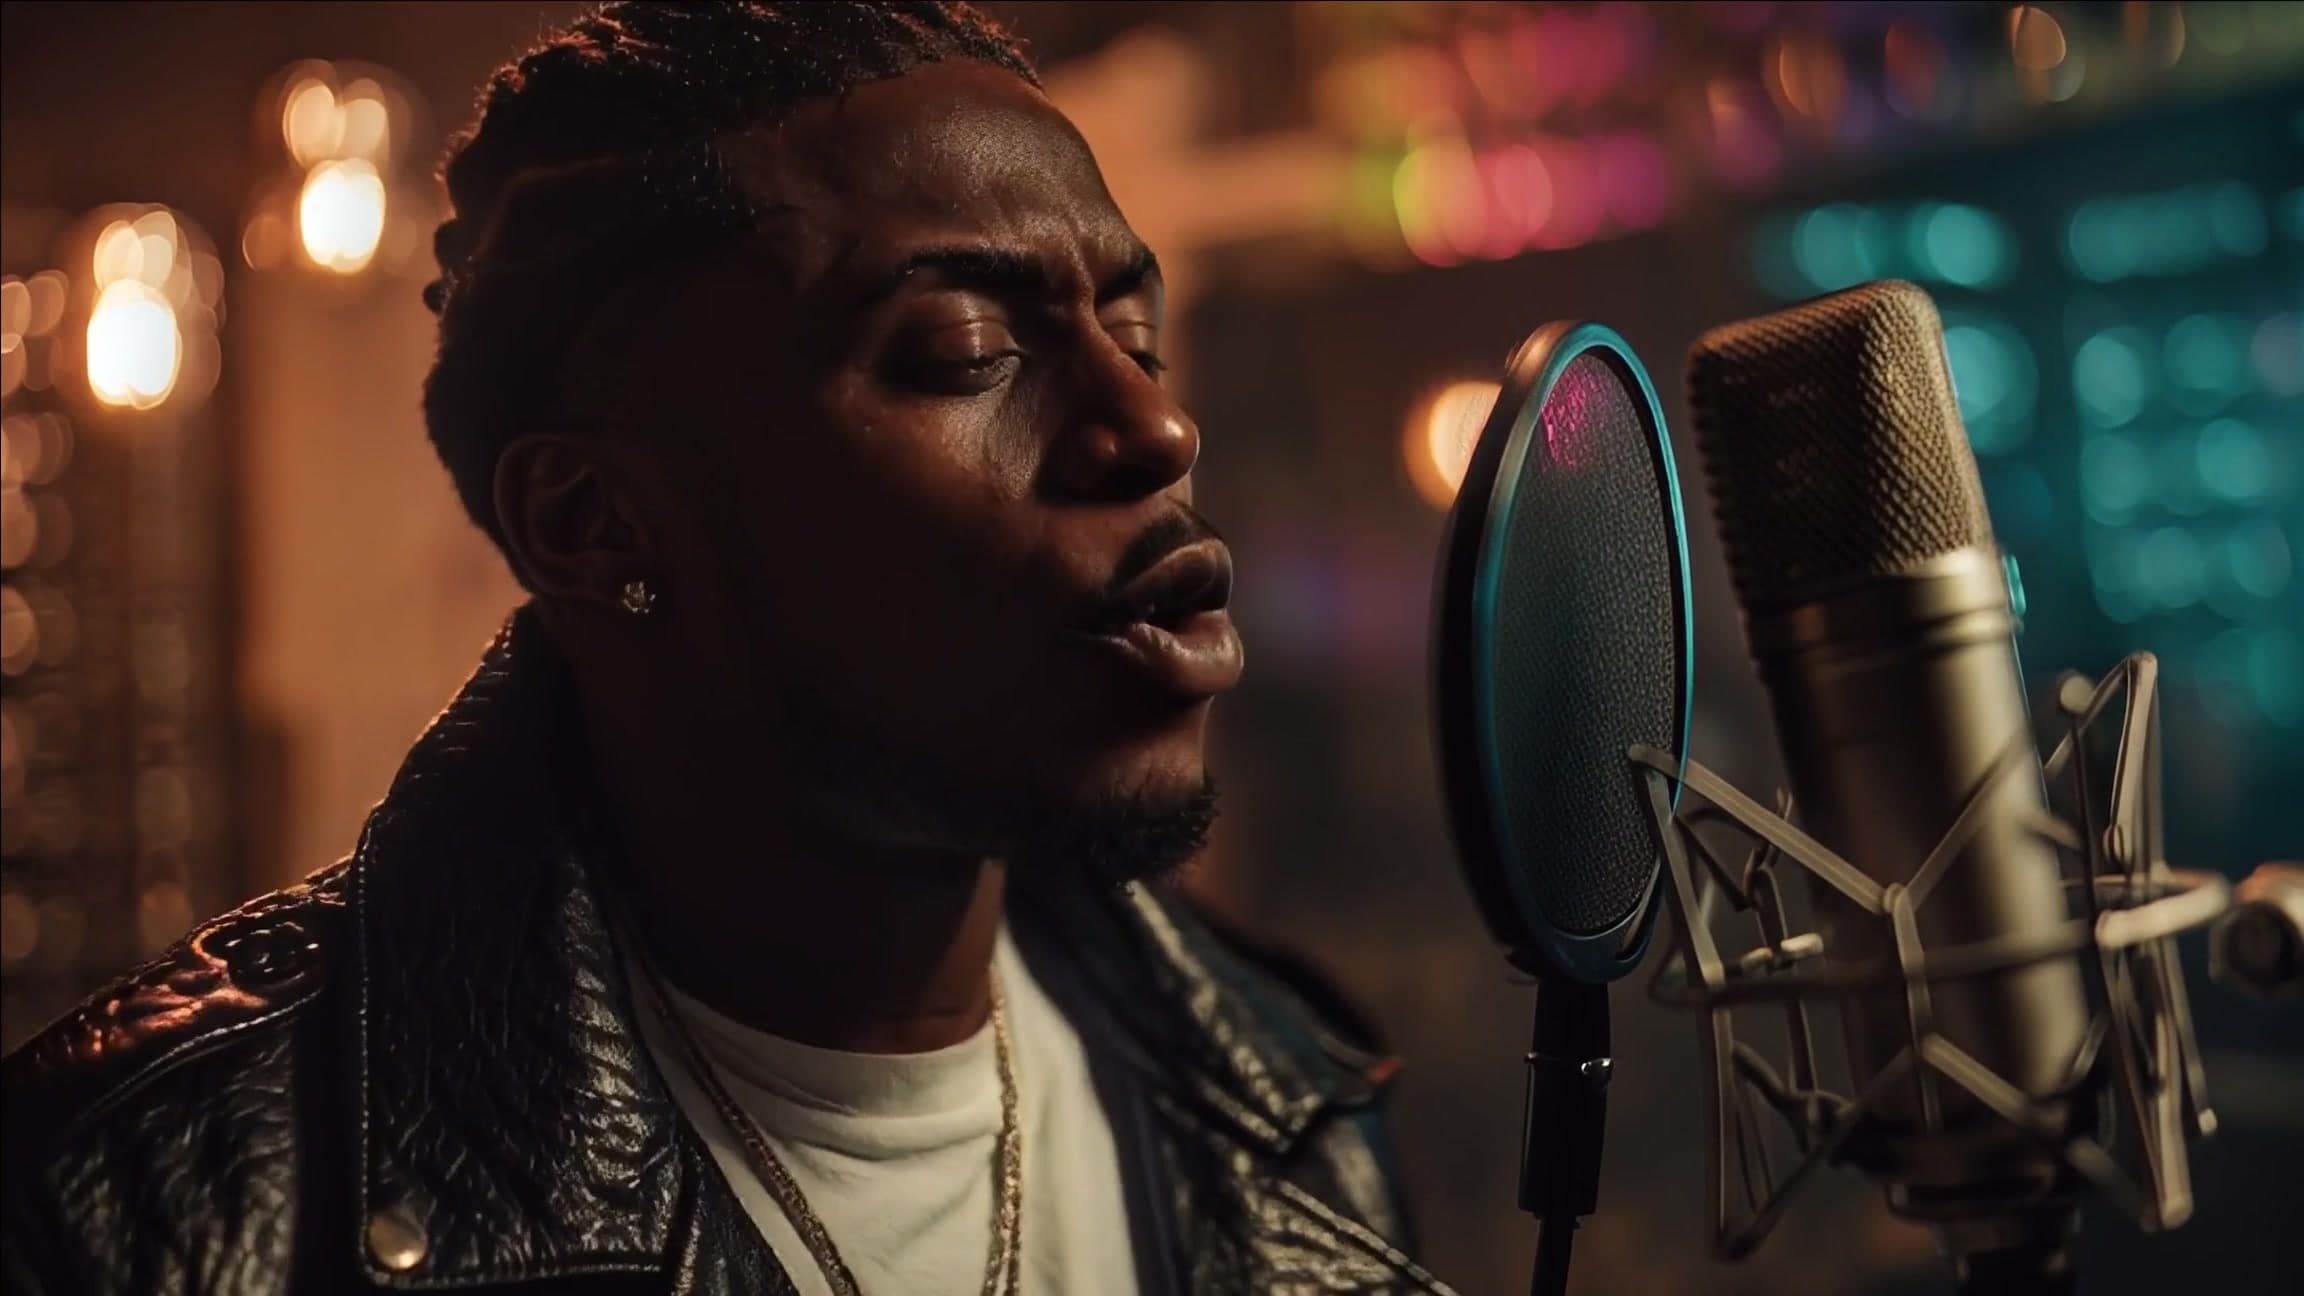
DistroVid Spotify Music Video Guide (2026)
Review DistroVid pricing, Spotify eligibility, file requirements, delivery steps, timing, rights, and the cases where another route is better.
How to Upload a Music Video to Spotify
Choose the right Spotify delivery route, follow the upload steps, and prepare a music video with the correct format, rights, and metadata.
Spotify Canvas vs Music Video: Which Do You Need?
Compare Spotify Canvas and full music videos by purpose, format, access, upload path, and effort so you can make the right release asset first.